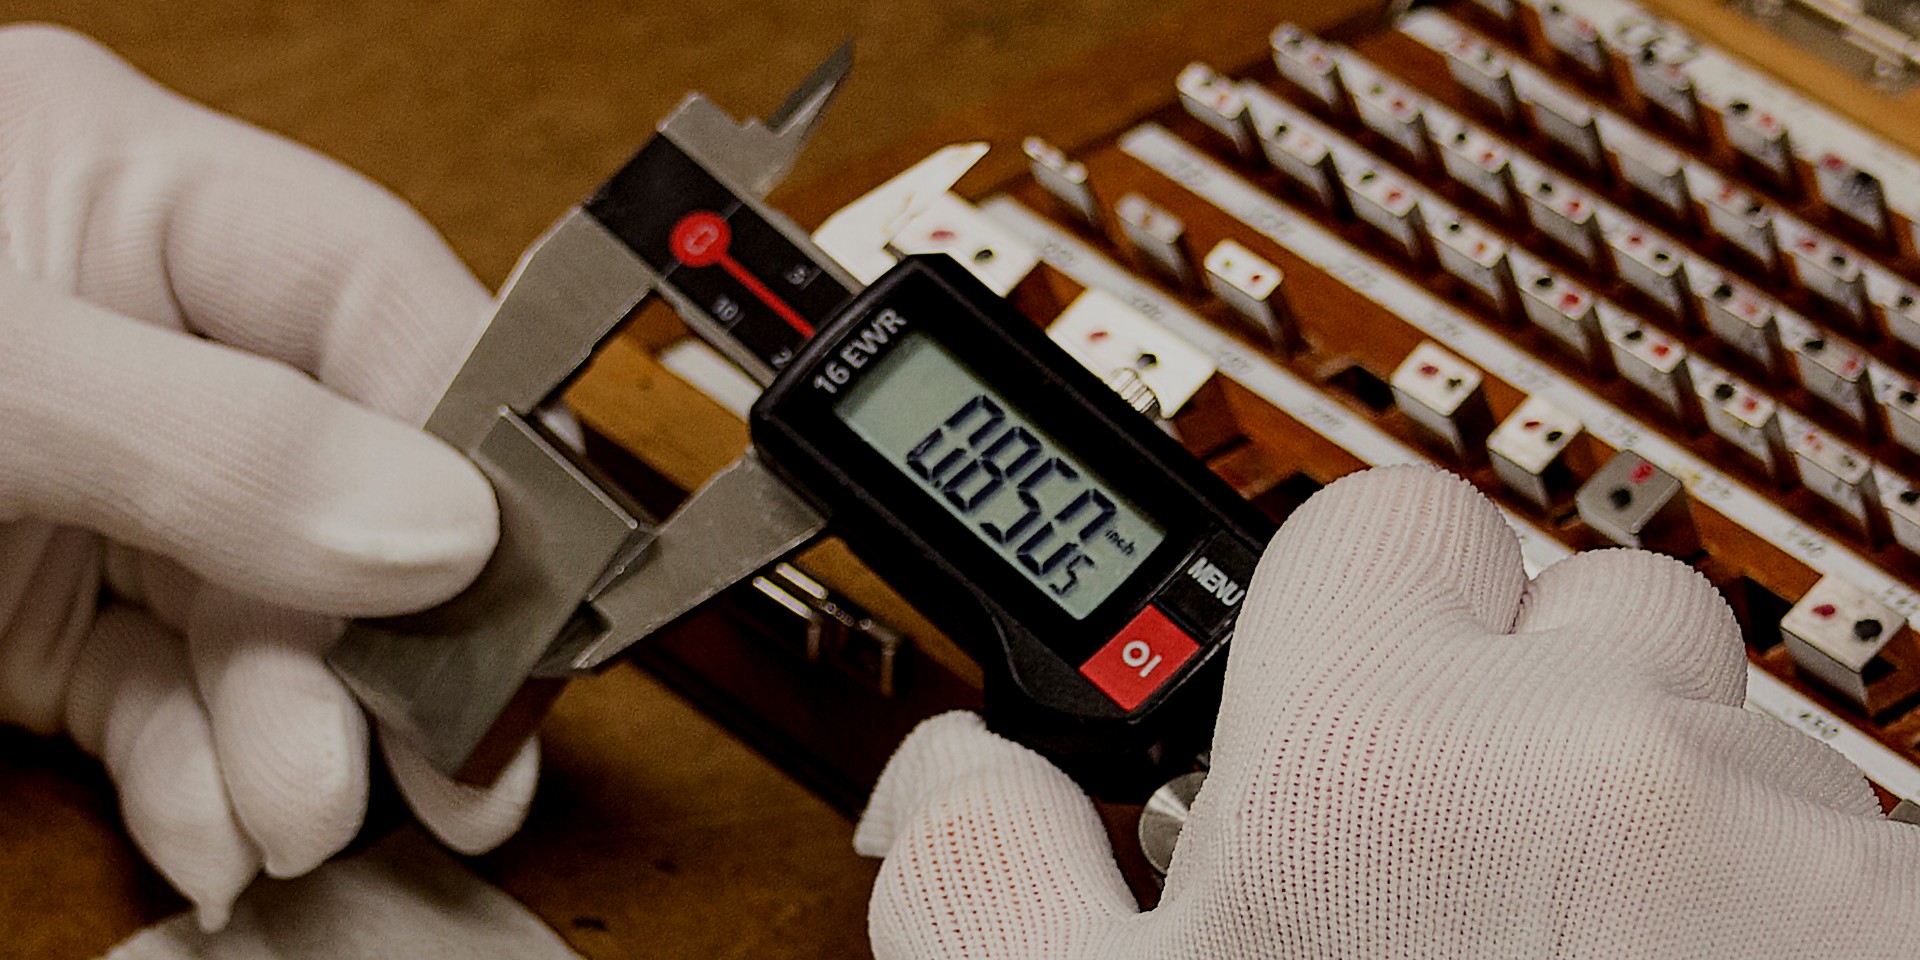
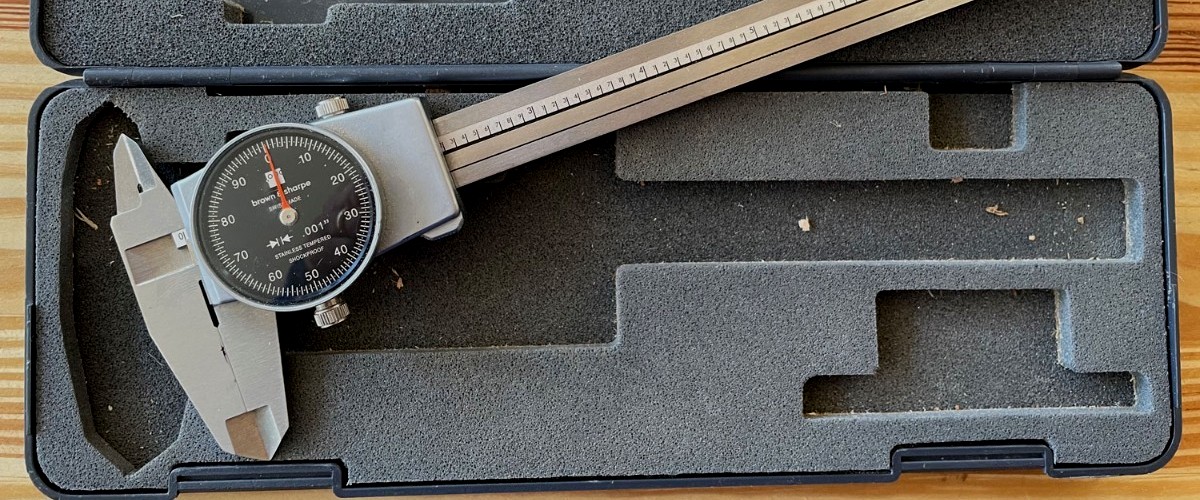
When measuring dimensions accurately, few tools are as versatile or practical as calipers. However, even with this precision instrument at your disposal, there are several ways inaccuracy can creep in. Here, we’ll look at some tips for ensuring accuracy when using calipers. We’ll also explore how you can use them to measure the smallest dimensions possible.

Decide what accuracy you need
The first step in using calipers accurately is deciding what level of accuracy you need. For most applications, millimeters or fractions of an inch will suffice. However, if you’re working on a project that requires greater precision, such as measuring the thickness of a sheet of paper, you’ll want to use a micrometer. If you’re looking for a caliper, try to find one with an accuracy of +/- 0.001″ or better.
Check the condition of your calipers
Before you use your calipers, it’s essential to inspect them for any damage that could affect their accuracy. For example, check the jaws to ensure they’re free of nicks or burrs, and look for any cracks in the body of the caliper. It’s also a good idea to ensure the vernier scale is free of dirt or debris. If your dial calipers are damaged, it’s best to replace it rather than try to repair them.
Use the correct jaws for the measurement
Three types of jaws come with most calipers: outside, inside, and depth. Using the correct jaw type for the measurement you’re taking is important. For example, if you’re measuring the diameter of a pipe, you’ll want to use the outer jaws. If you’re measuring the depth of a hole, you’ll want to use the depth jaws.

Checking the accuracy
Cheaper calipers can be accurate, but not everyone will be. The problem is that you won’t know if the caliper is accurate until you check it. It is called calibrating. You need to calibrate a caliper if you do not have access to everything. A less precise version of the process would be called zeroing.
Zero the calipers before taking a measurement
Before measuring with your calipers, it’s essential to zero them. It ensures that the measurement you take is as accurate as possible. To do this:
- Open the caliper’s jaws until they’re wide enough to fit around the object you’re measuring
- Close the jaws until they just touch the object
- Once the jaws are touching, zero the vernier scale or digital display
Choose the correct measurement type
You can take two main measurements with calipers: linear and internal. Linear measurements are taken along the length of the caliper’s jaws, while internal measurements are taken between the jaws. For most applications, you’ll want to take a linear measurement. However, there may be times when you need to take an internal measurement, such as when measuring the bore of a pipe.
Take multiple measurements and average them
Whenever possible, take multiple measurements and average them. It is essential when you’re measuring small dimensions. By taking multiple measurements and averaging them, you can eliminate any error that might be present in a single measurement.
Repeat the measurement in both directions
When measuring something with calipers, it’s important to measure it in both directions. Calipers can sometimes give different readings depending on the direction they’re moved. By taking a measurement in both directions and averaging the two values, you can eliminate any error that might be present.
Use a known reference object
Whenever possible, use a known reference object to calibrate your calipers. It ensures that the measurements you take are as accurate as possible. To do this, measure the dimensions of the reference object with your calipers. Then, compare these dimensions to the known values for the object. If there is a discrepancy, adjust your calipers accordingly.
Follow these tips, and you’ll be able to take accurate measurements with your calipers every time. With a bit of practice, you’ll be able to take accurate measurements within a few thousandths of an inch. With greater experience, you may even achieve accuracies of a few millionths of an inch.